Build Settings between Monaca and Xcode
If you want to develop your Monaca app in both Monaca Cloud IDE and Xcode on your Mac OS X, you will need to synchronize the build settings (private keys and certificates) of the app you use in these two environments.
In this page, we will show you how to:
Export the build settings from Xcode to Monaca Cloud IDE
In case you've already configured your build settings (private keys and certificates) in your Mac OS X (Xcode) and you want to export them to the Monaca Cloud IDE, follow these instructions:
Step 1: Export a private key and a certificate in Keychain Access
In order to export the private key in Keychain Access, please follow the instruction below:
In your Mac OS X, go to Applications → Utilities → Keychain Access.
Select
Certificateson the left panel of the Keychain Access window.

3. Right-click on the certificate you want to export and select Export “CERTIFICATE NAME”. Please make sure to choose a certificate that has a private key. Only a certificate that has a private key can be imported to Monaca.

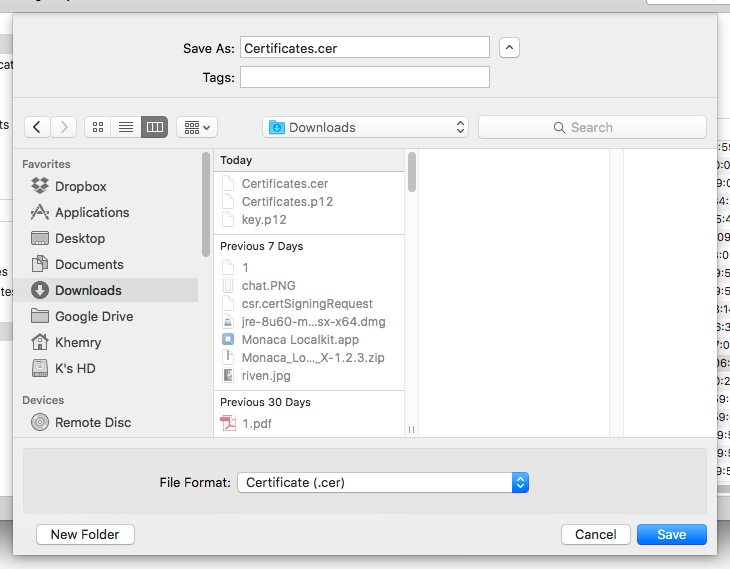
4. The export screen will be displayed. Save it as a private key by selecting the file format asPersonal Information Exchange (.p12). Then, click Save.

5. Enter a password of the private key and click OK. By doing so, a private key file with extension .p12 will be created. Please remember this password as you will need it when importing this file in the Monaca Cloud IDE later.
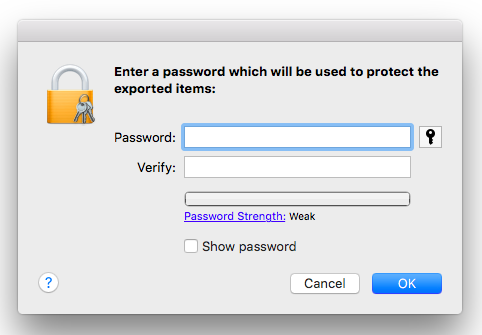
6. Now, right-click on the certificate you want to export again and select Export “CERTIFICATE NAME”. This time, save it as a certificate by selecting the file format as Certificate (.cer) and then click Save.
Step 2: Import a private key and a certificate to Monaca
In Monaca, you can register only one private key. If you are using different private keys for the developer and the distribution certificates, you will need to re-import the private key that is related to the certificate you are going to use.
To import the private key and certificate in Monaca Cloud IDE, follow the instructions below:
From the Monaca Cloud IDE menu, go to Configure → iOS Build Settings. Then, click Import.

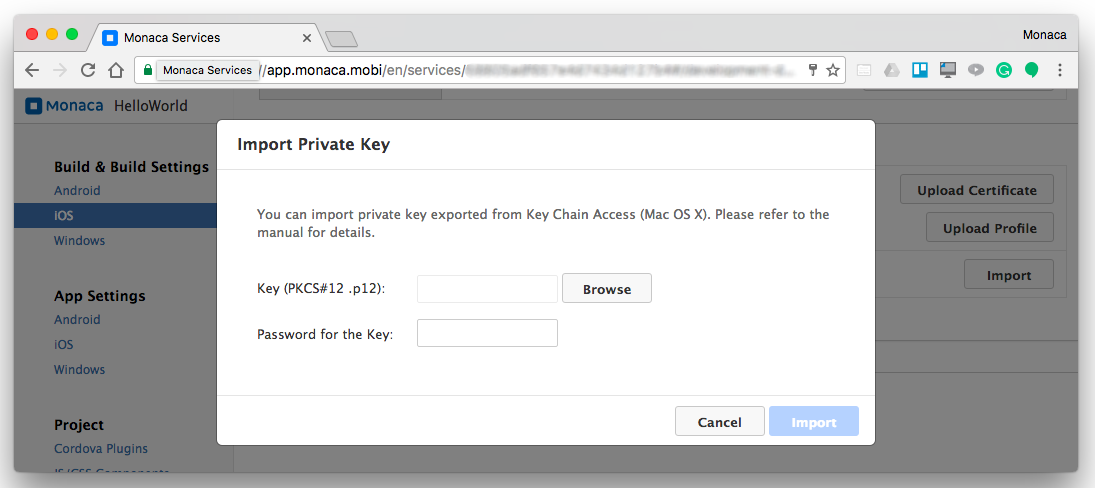
2. Browse the private key file (.p12 file) and enter the password of that key. Then click Import.
3. In the Register Issued Certificate section, click the Upload Certificate button to upload either developer or distribution certificates corresponding to the imported private key.
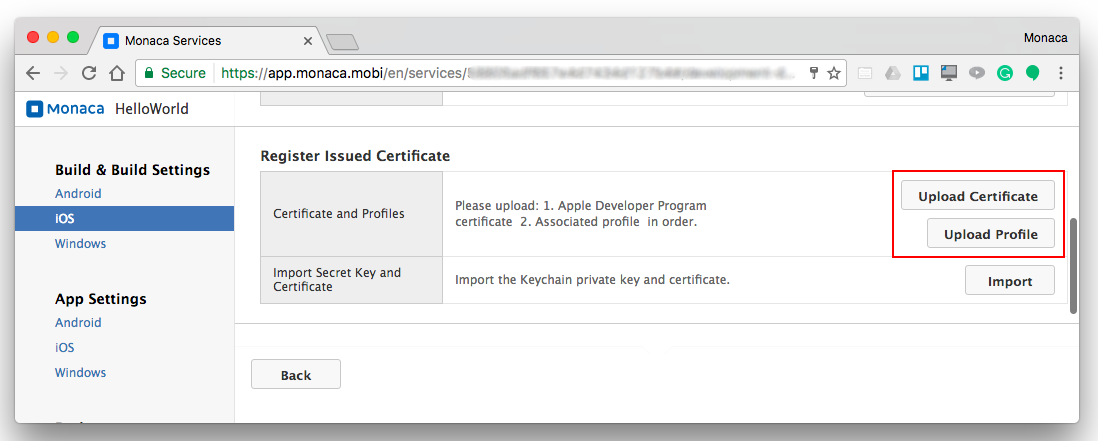
4. Browse the certificate file (.cer file) and upload it.
Export the build settings from the Monaca Cloud IDE to Xcode
From Monaca Cloud IDE, the private key and certificate are exported as one file.
To export a private key and a certificate from the Monaca Cloud IDE, please follow the instructions below:
From the Monaca Cloud IDE menu, select Configure → iOS Build Settings.
In the
Certificates registered in Monacasection, click theExporticon of the certificate you want export.

3. Then, you will be asked to input a password before exporting. Remember this password as it is required when importing this certificate later.
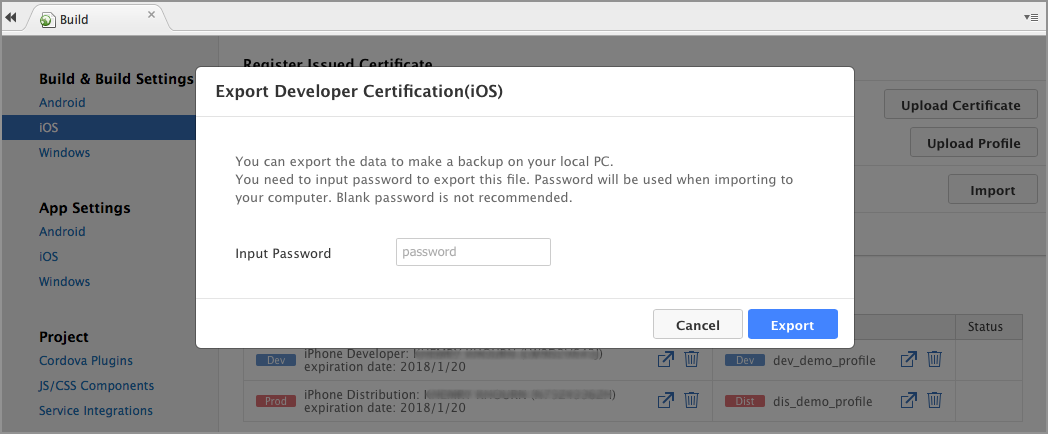
4. After clicking the Export button, you will then be able to download a file with .p12 extension (Ex: dev_certification_ios.p12). This file consists of a private key and a certificate.
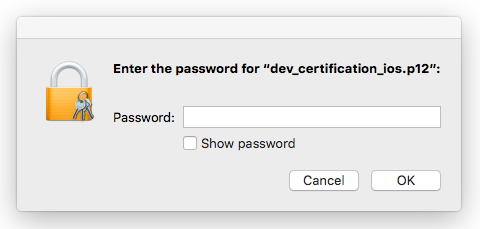
5. Double-click the downloaded file. Input the password of the file and click OK. After that, you can use the private key and certificate in Xcode.
Last updated