Monaca Debugger for Android Emulator
On this page, we will describe how the Monaca Debugger works on an AVD (Android Virtual Device) called Android Emulator. You can simulate Android apps on a PC with it. Moreover, it is useful when you want to test your apps on more than one Android device.
Monaca Backend plugin is not included in the Monaca Debugger.
On this page, the instructions are made for a Mac OS X. Internet is needed in order to run the Monaca Debugger on an emulator.
Step 1: Setting up an Android Virtual Device
Download and install Android Studio.
Run the Android Studio.
Create a new project or open an existing one.
Click AVD Manager. Then, the
Android Virtual Device Managerdialog will open.

5. Click + Create Virtual Device.
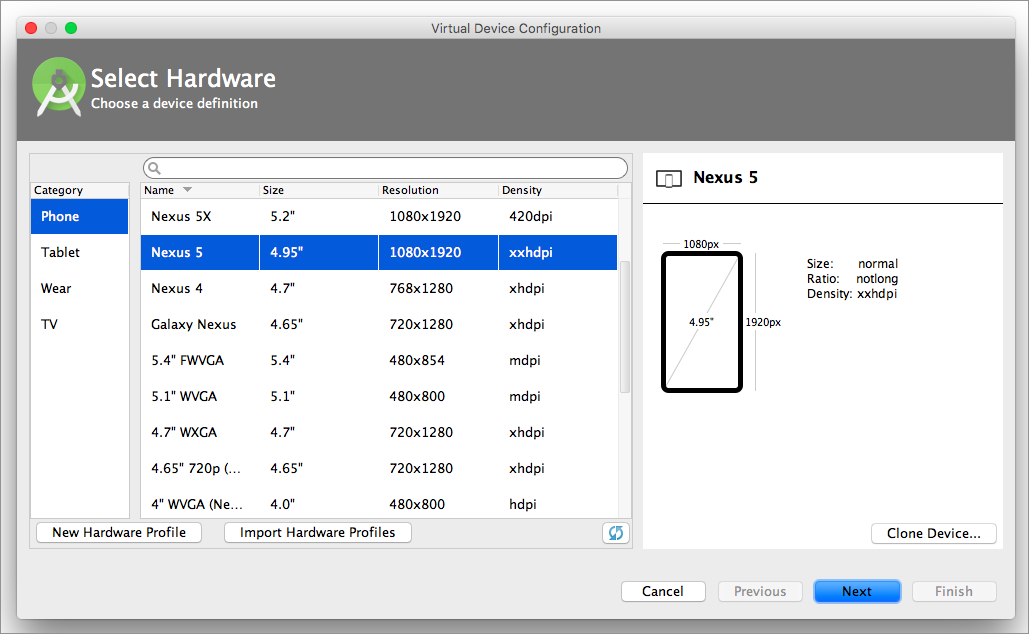
6. Select an Android device and click Next.
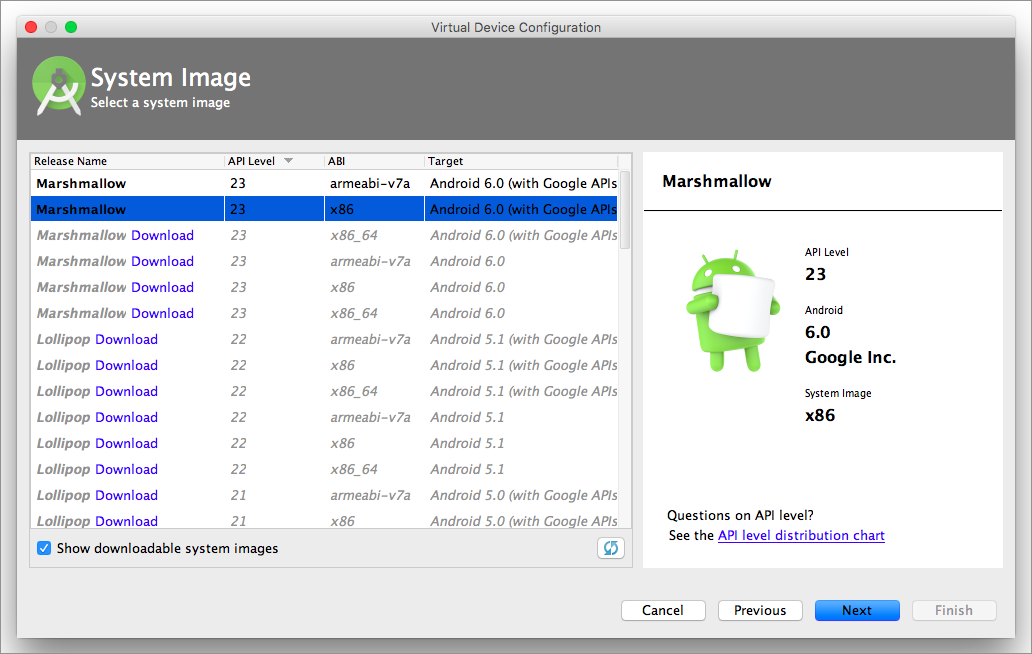
7. Select a system image (you may need to download it first) and click Next.
7. Make the virtual device’s configurations. Select Show Advanced Settings for other settings such as memory, storage, device frame and keyboard.
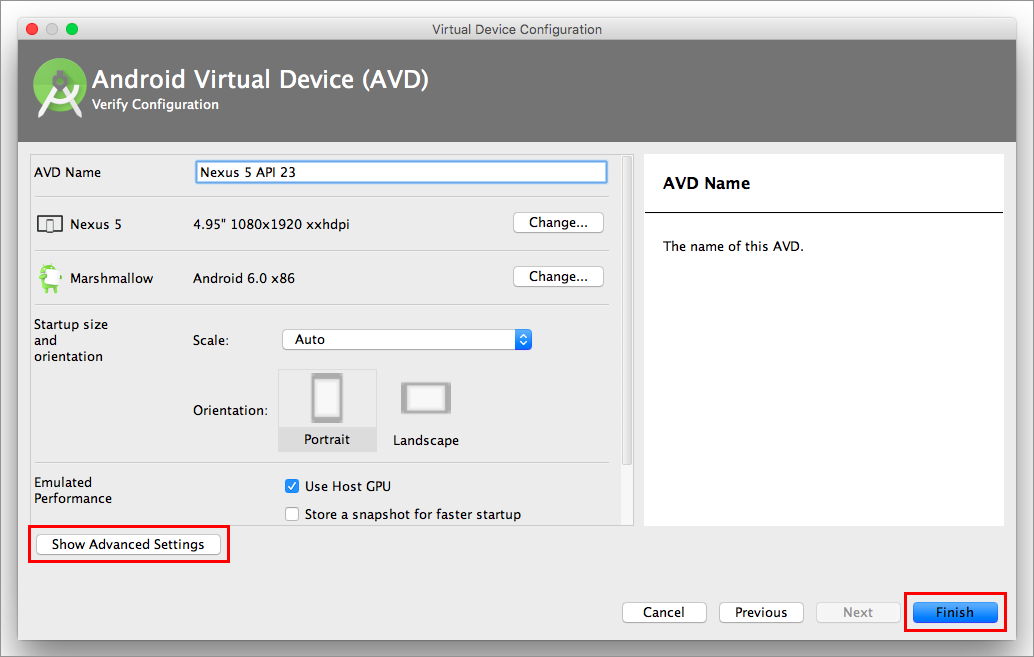
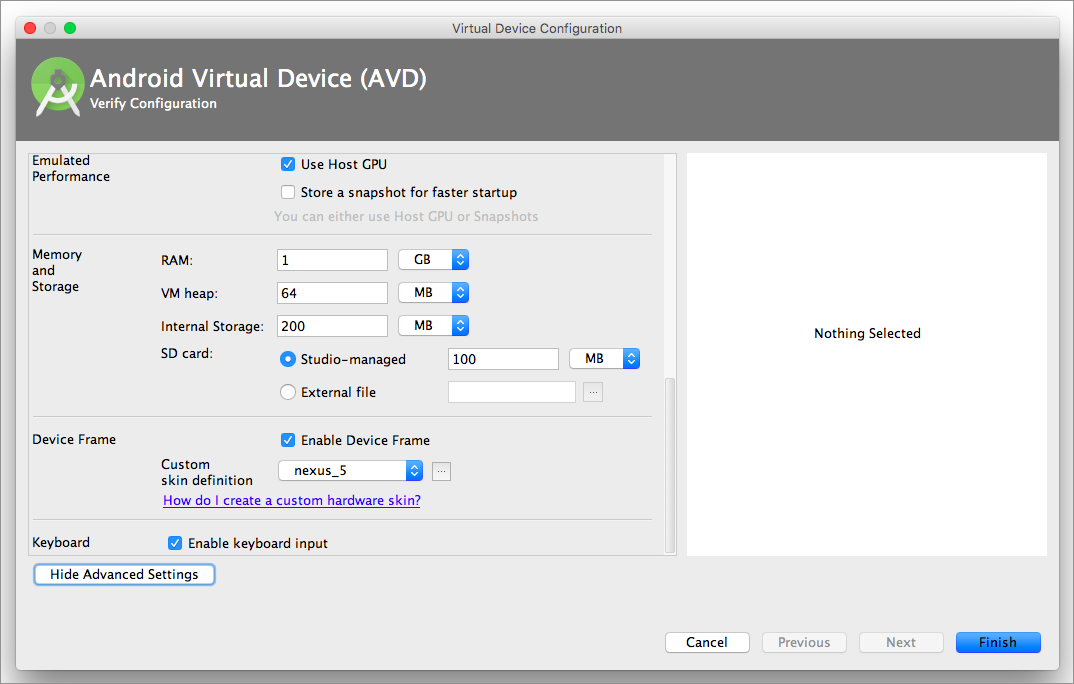
8. After completing the configurations, click Finish.
Step 2: Building Custom Monaca Debugger for Android
Go Monaca Cloud IDE and build custom Monaca Debugger for Android.
For more information, please refer to Build and install a custom Monaca Debugger.
Download the debugger file and upload it to any file hosting
services such as Google Drive or Dropbox.
Get a download link of the uploaded file. You will use this
link later in the virtual device.
Step 3: Installing the Monaca Debugger
Open the
AVD Managerand launch the virtual device.

2. On your virtual device, open a browser and the download link you created in the previous step to download the custom Monaca Debugger for Android.
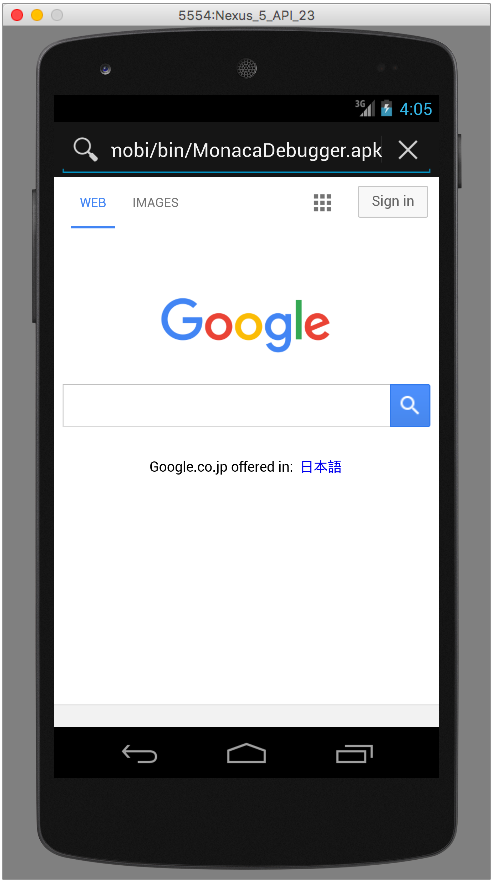
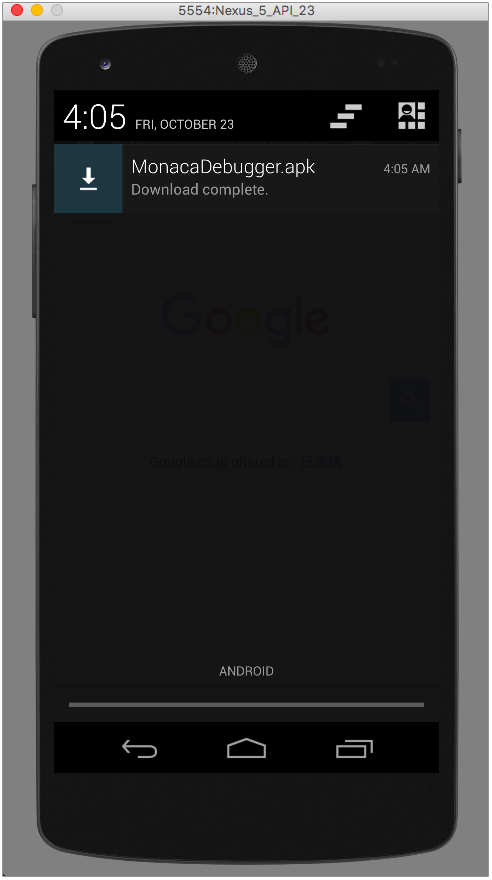
3. After the download is completed, click the downloaded file to start installing the debugger.
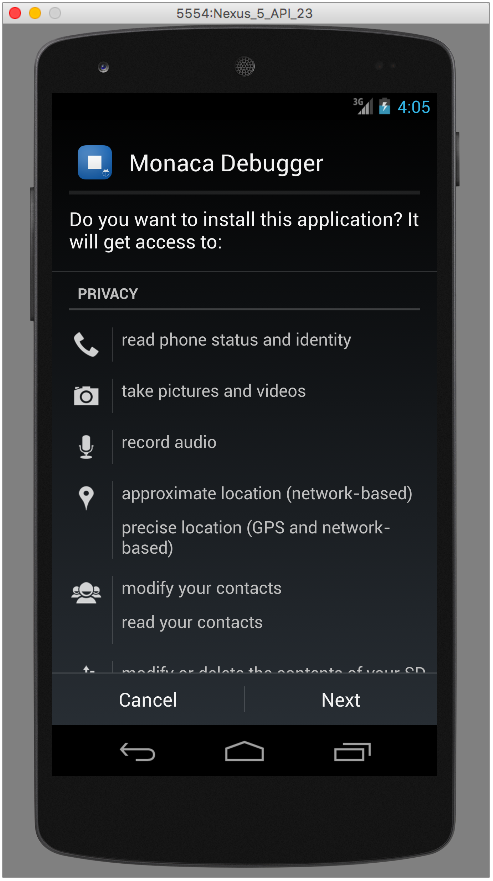
4. Follow the installation wizard.
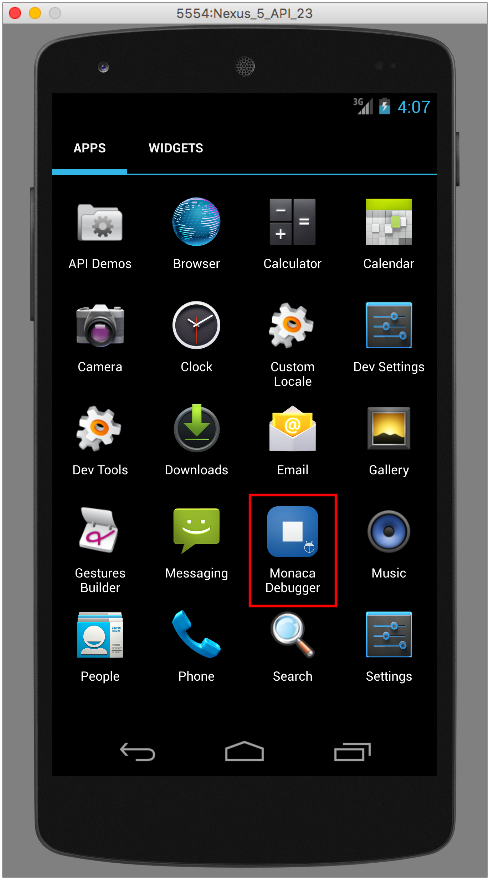
5. Once the installation is completed, you can find the Monaca Debugger on your apps page.
Step 4: Running a project on the Monaca Debugger
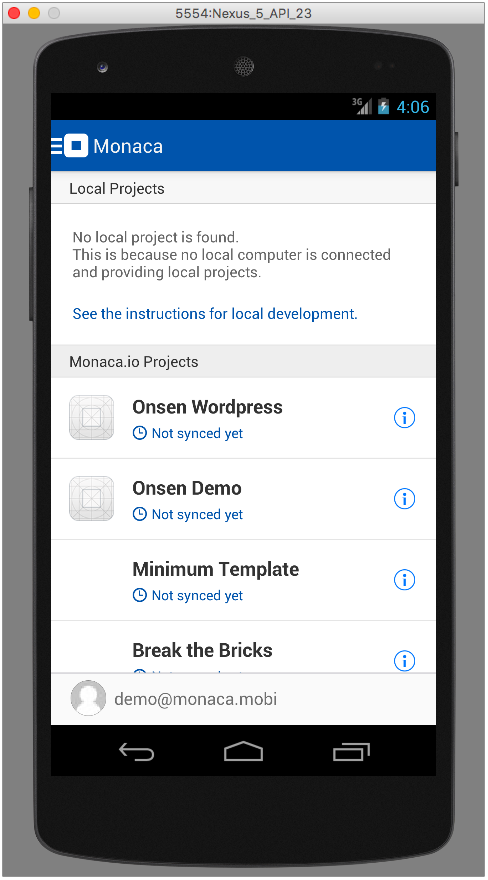
Open the Monaca Debugger and sign in with your Monaca account.

2. Click on the project you want to run in the Monaca Debugger.
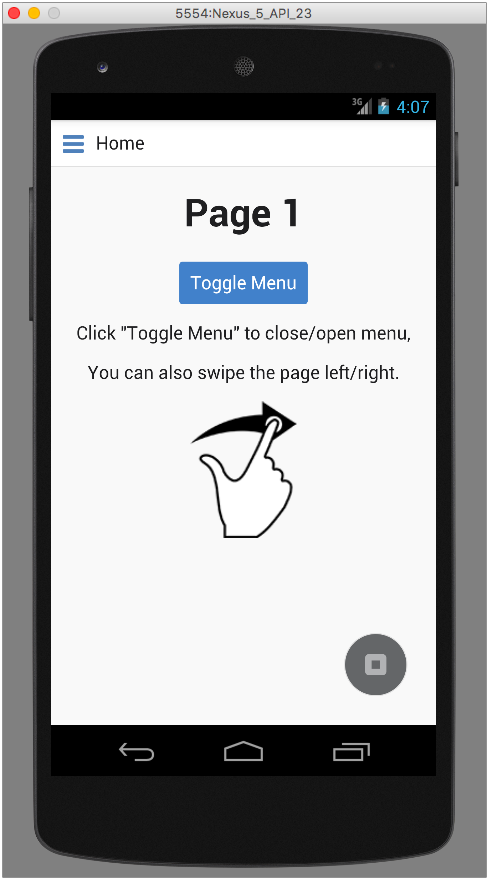
3. Now your project is running and you can start testing your project. Please refer to Functionalities and Usage on what you can do with the Monaca Debugger.
Last updated