Monaca Debugger for iOS

Monaca Debugger (Store Version)
Custom Monaca Debugger
Description
Monaca Debugger available in the App Store
Monaca Debugger built in the Monaca Cloud IDE
Core and some third-party Cordova plugins are automatically included.
In addition to the core and third-party Cordova plugins, user submitted plugins (of the current project) are included.
App ID (iOS:CFBundleIdentifier)
mobi.monaca.debugger
Version Name (iOS:CFBundleShortVersionString)
Fixed (currently 6.0.0)
Display the version name set by the user
App Version (iOS:CFBundleVersion)
Fixed (currently 6.0.0)
The version set by the user
The following Cordova plugins for push notifications can not be used in the store version and the custom build debugger. You can use these plugins in a debug build or a release build.
Cordova plugins for push notifications:
onesignal-cordova-plugin
cordova-plugin-firebase
Cordova plugins
In the Monaca Debugger, core and third-party Cordova plugins are automatically included.
Monaca includes the core cordova plugins such as battery status, camera, contacts and device. For a complete list of the core Cordova plugins, please refer to core cordova plugins.
While developing your project, you may need to add other third-party or custom cordova plugins to your project. The standard Monaca Debugger (Store Version) doesn't have these newly added plugins. For this reason, your project might not run properly in the debugger. Therefore, you need to use a custom Monaca Debugger. Custom Monaca Debugger is a debugger that is built from a Monaca project in the Monaca Cloud IDE.
USB debugging (for iOS and Mac only)
Monaca Debugger for iOS supports USB debugging functions with Safari browser:
console debugging: using a console to diplay message
DOM inspection: viewing and modifying the DOM structure with live
updates
JavaScript debugging: profiling JavaScript performance, setting
breakpoints and execution control
For more information, please refer to Safari remote debugging.
This feature is not available on Windows.
Build and Install Custom Monaca Debugger
Preparation
You are required to have:
a valid private key
a developer certificate
a development provisioning profile
Please refer to Building an iOS App (Step 1 and Step 2) on how to get the above items and make necessary configurations before start building the custom debugger. After obtaining the above necessary files, start building with the following instructions:
Build the debugger
From the Monaca Cloud IDE menu, go to Build → Build App for iOS .
Select
Custom Debugger Buildand chooseDevelopment provisioning profile. Then, click Start Build.

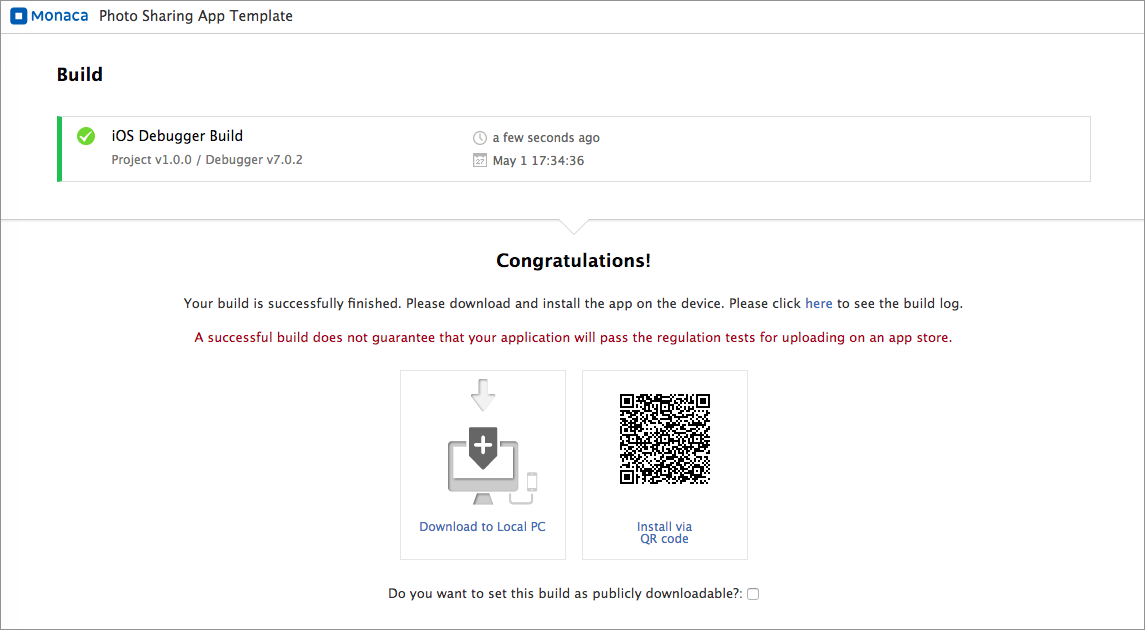
3. It may take some time until the build is completed. The following screen will open after the build is successfully completed. Then, you can use the QR code to install the debugger on your device or download the built file to your PC.

See Also:
Last updated