Part 2: Running Monaca Debugger with Monaca Cloud IDE
Monaca Debugger is a powerful application for testing and debugging your Monaca applications on real devices in real time.
When developing Monaca apps in the Cloud IDE, all changes made to your project files will be reflected in your Monaca Debugger as soon as you save your changes.
Before getting started
Install Monaca Debugger on your device.
Please refer to Monaca Debugger installation for other platforms.
Step 1: Running a project on the Monaca Debugger
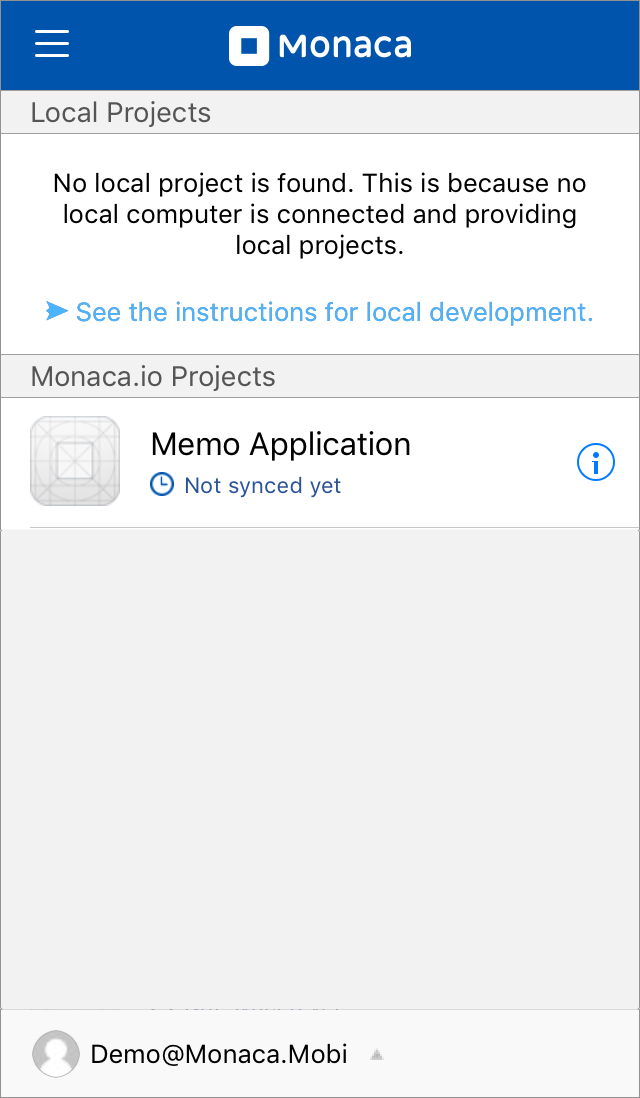
Launch the Monaca Debugger app and sign in with your Monaca account. Make sure that you are using the same account as for the Monaca Cloud IDE.

2. The list of projects will appear. All the Monaca Cloud IDE projects are listed under Monaca.io Projects. To run a project, simply tap the project name in the Monaca Debugger or select Run → Run on Device in the Monaca Cloud IDE.

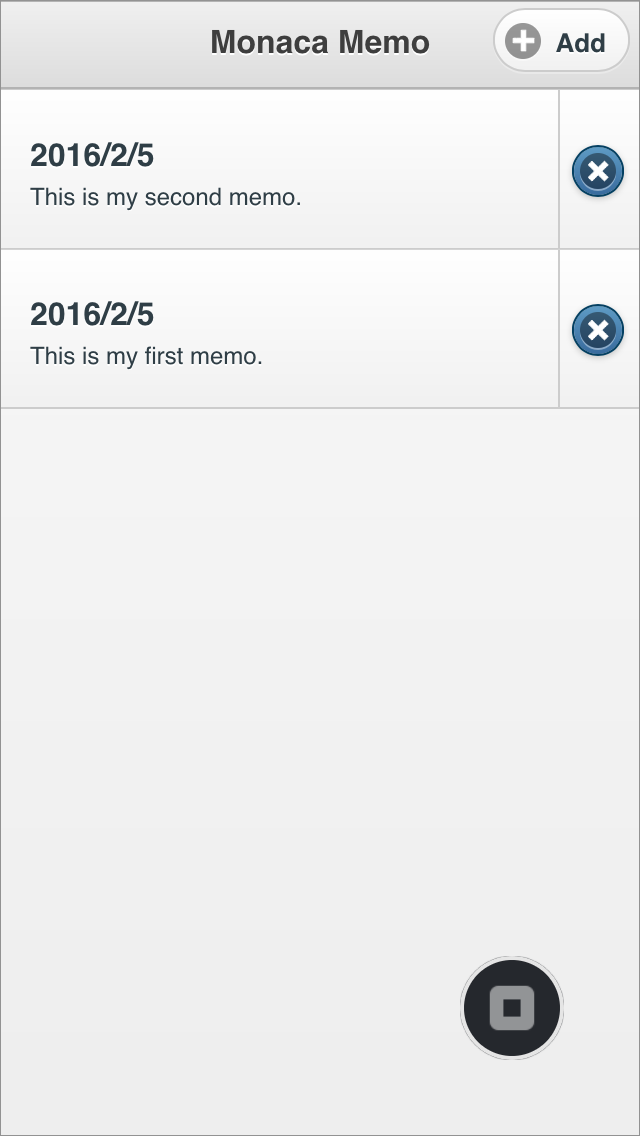
3. Your project should be running in the debugger.
4. Go ahead and try out the features of your app!

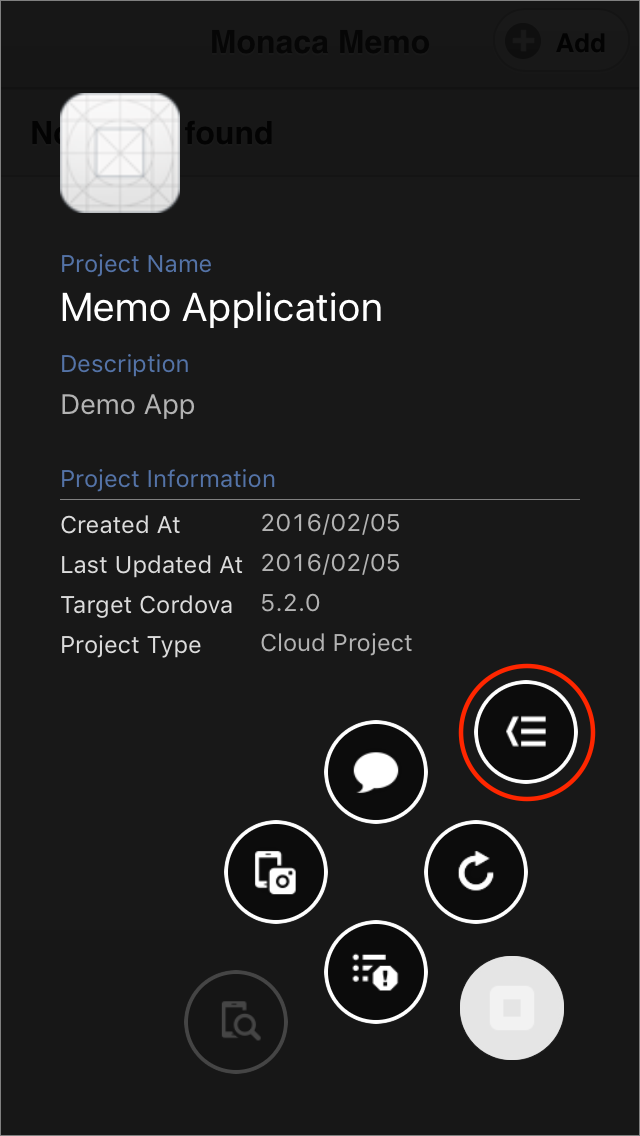
To go back to the project list screen, go to the Debugger menu and tap the back button.


Step 2: Real time updates between the Monaca Cloud IDE and the debugger
By now, you should be able to run your Monaca project on the debugger. Next, let’s try to make changes to the project and see how it is reflected in the debugger.
Run the project on the debugger.
In the Monaca Cloud IDE, open the
index.htmlfile and change the title of the front page fromMonaca MemotoMy Memo. Then, save the change.

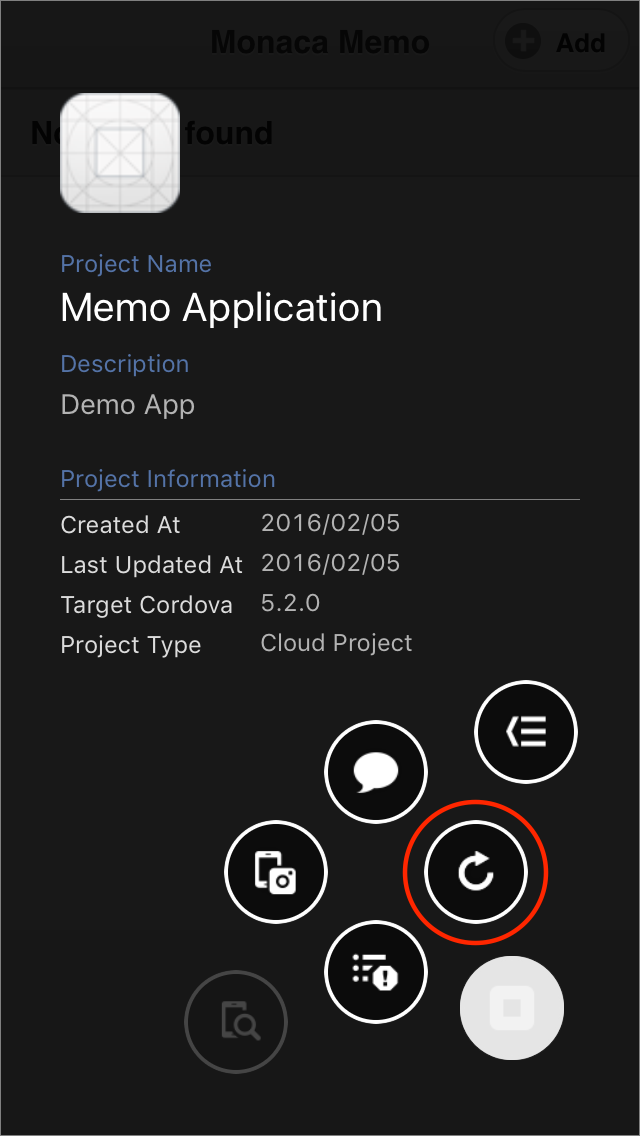
3. As soon as you save your new changes, Monaca Debugger will automatically refresh itself. You can also tap the reload button to manually retrieve the latest updates of your app if the changes are not reflected.


Please refer to Debugger functionalities to explore the other functions provided by the Monaca Debugger.
You can also use USB debugging with the Monaca IDE. Please refer to USB Debugging with Monaca.
That’s it! Try to make more changes to your project and see how it runs on the debugger. Enjoy developing with Monaca!
Last updated

