Part 2: Running Monaca Debugger with Monaca Localkit
Monaca Debugger is a powerful application for testing and debugging your Monaca applications on real devices in real time.
When developing Monaca apps on your local PC (running Monaca Localkit), assuming that the local PC is successfully paired with the Monaca Debugger, all changes made to the project files will be pushed into Monaca Debugger as soon as you save those changes.
Before getting started
Please install Monaca Debugger on your device.
Please refer to Monaca Debugger installation for other platforms.
Step 1: Running a project on the Monaca Debugger
Pair the Monaca Debugger with the Monaca Localkit. Please refer to Pairing and Debugging.
If the pairing succeeds, your project list will appear in the Monaca Debugger and the connected debugger will appear in the Monaca Localkit (see the screenshots below). However, if the pairing fails, please refer to Troubleshoot pairing.
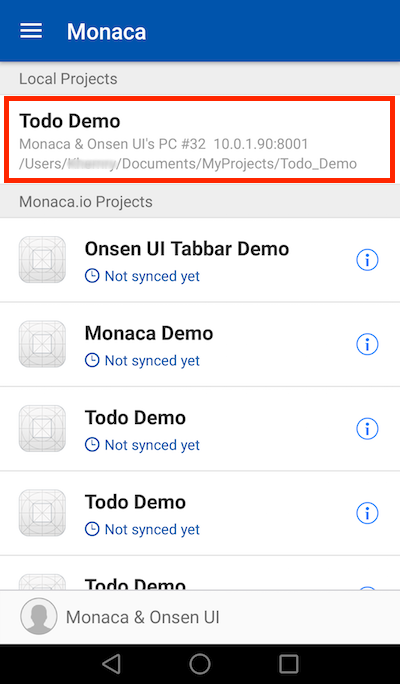
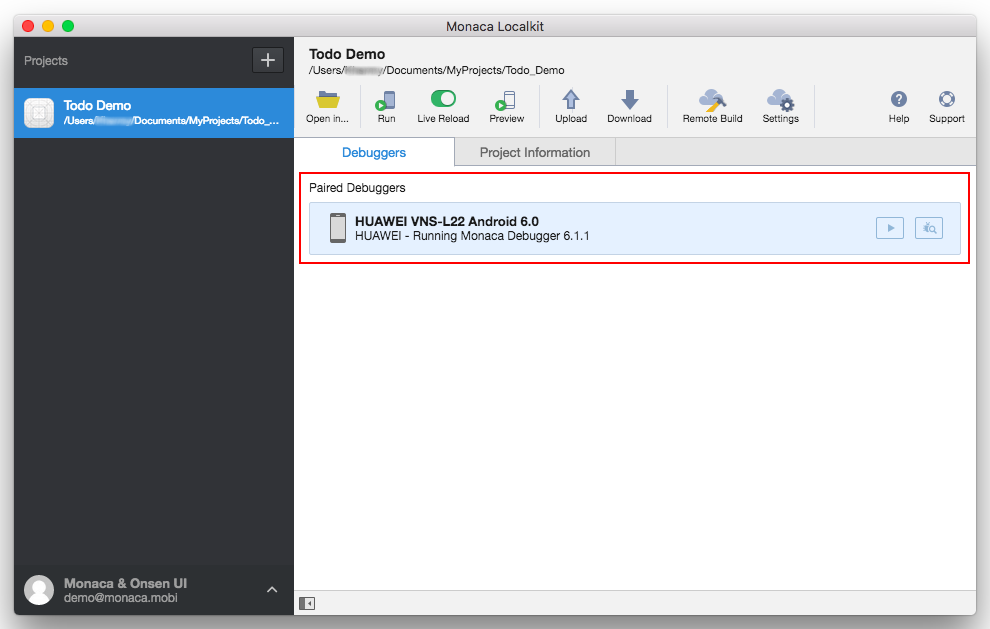
3. Run the project on the Monaca Debugger. To do this, you can either click the project in the Monaca Debugger or click the Run button in the Monaca Localkit.
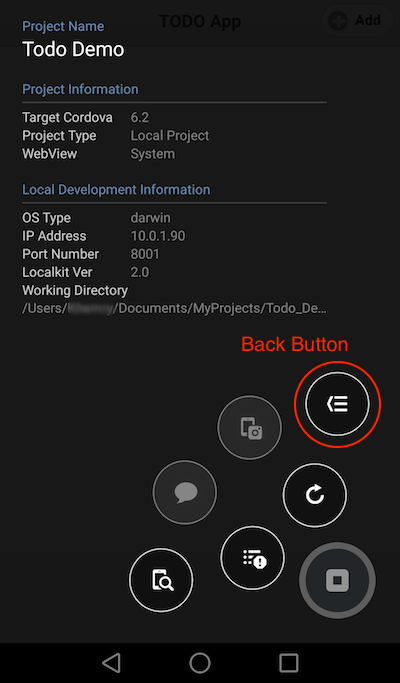
4. Now the screen of your device should look like in the screenshot below. Touch the Back button within Debugger Menu to go back to the Project List screen.

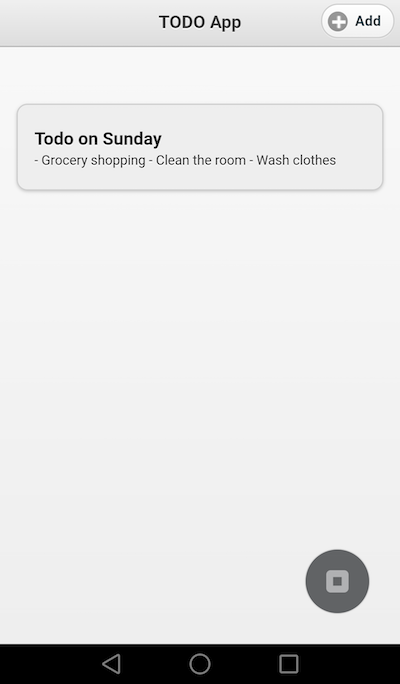
5. Test the app by adding a new memo. If a new memo appears, your project is running properly.
Step 2: Real time update between the Monaca Localkit and the Monaca Debugger
Run the project on the debugger.
Do some changes in a project file and save it (read more on Edit Project Files). For example, try to change the title of the application in the
index.htmlfile or a style in thestyle.cssfile. Note that the live reload toggle button is enabled by default. Turn it off if you want to disable real time updating.

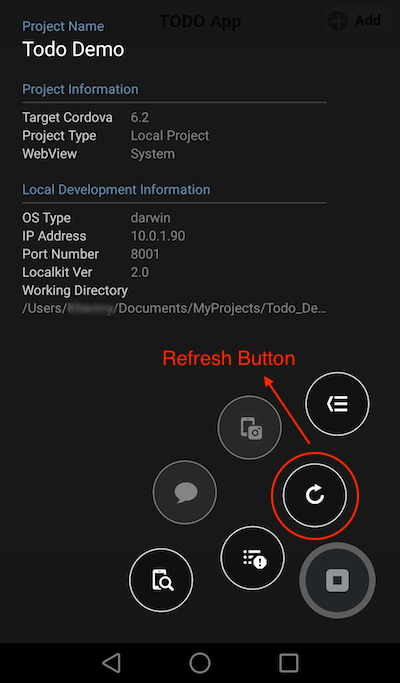
3. The saved changes should be reflected immediately in the Monaca Debugger on your device. You can also click the Refresh button to retrieve the latest updates of your app if the real time updating does not work.
Step 3: Debug the project with the Monaca Debugger
Monaca Localkit allows you to debug your application with the Chrome DevTools using USB connection. Before starting the USB debugging, please make sure to enable the USB debugging option on your device with an appropriate version of the Monaca Debugger.
Run the project on the debugger.
In the debugger menu, click the
inspectorbutton (see the screenshot below).

3. The Chrome DevTools should open in the host PC. Then, you can start inspecting and debugging your app right away. For more information, please refer to the Chrome DevTools documentation.
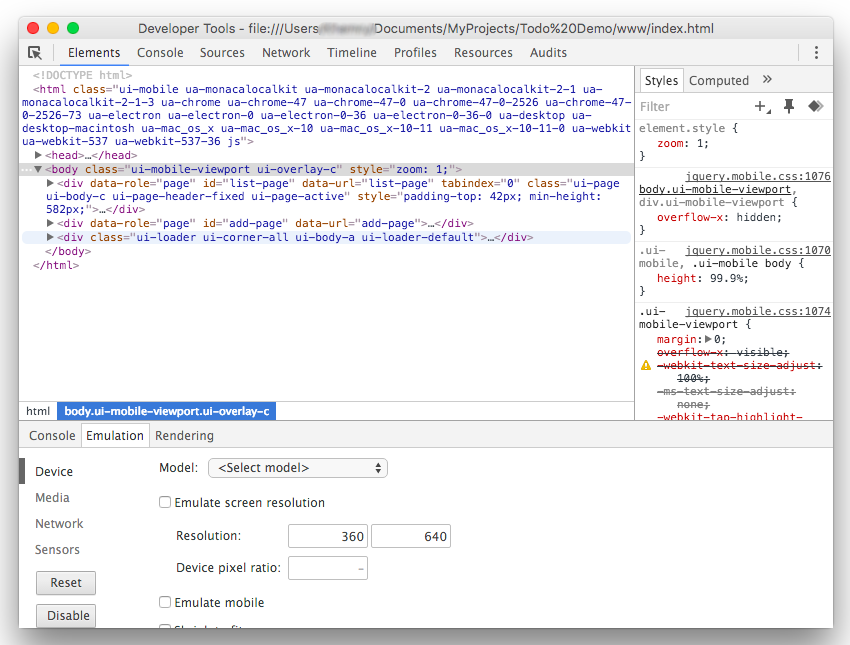
You can also open the Chrome DevTools directly from the Monaca Localkit. Select a project you want to debug and click the inspector button of the paired debugger (see the screenshot below).

Please refer to Debugger Functionalities to explore the other functions provided by the Monaca Debugger.
You can also use USB debugging with Monaca CLI. Please refer to USB Debugging with Monaca .
That’s it! Try to make more changes to your project and see how it runs on the debugger. Enjoy developing with Monaca!
Last updated

